|
|
How to Download and
Apply the ACT! by Sage 2008 (10.0.2) Service Pack |
|
|
|
|
|
Question |
|
|
You would
like to know how to download and apply the ACT! 2008 (10.0.2) Service Pack. |
|
|
|
|
|
Answer |
|
|
Important Information Before Updating Title:
Message: "Preparing to Install..." When Opening a Microsoft Office
Product After Updating or Uninstalling ACT! by Sage 2008 (10.0)
1.
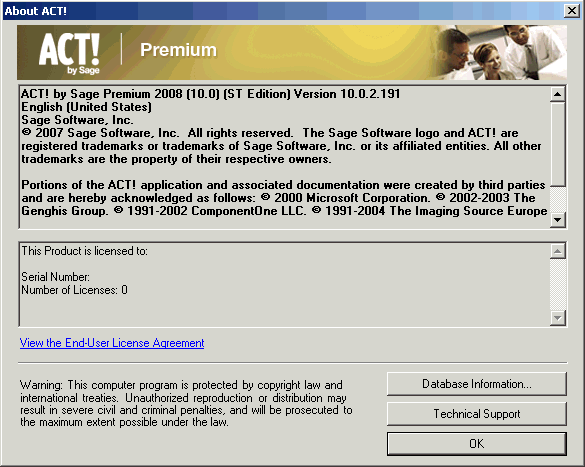
Launch ACT! 2.
Click Help menu, and then select About ACT!. 3.
The About ACT! dialog box
appears. The version number appears near the top of this box.
·
ACT!
2008 (10.0) or (10.0.1) users cannot share the same database with ACT! 2008
(10.0.2) users. All users in a workgroup must be on the same version to
access and take advantage of the new release. ·
ACT!
Premium and ACT! Premium for Web users who share a database must also be on
the same version number in order to access and share data. Administrators for
these mixed environments should wait to update to ACT! Premium 2008 (10.0.2)
until both Web and Windows versions are available. ·
If
synchronization is deployed, and any users are on version 10.0.2, the sync
service must be upgraded. 1.
Click the following link to access the
downloads area of the act.com
website. 2.
Enter your user information and click Log In. If you have
not created an account, please create your account to continue. 3.
Scroll down to the Latest Updates area and located the
correct update for your installed version of ACT!. 4.
Click on English and then click Download Now. 5.
The File Download - Security Warning dialog box appears. 6.
Click Save. The Save As dialog box appears. Browse
to your desktop, then click Save.
1.
Close ACT!, and the following Microsoft
programs: Word, Excel, Internet Explorer® and/or Outlook®. 2.
Ensure you are logged on to your computer with local
Administrative rights. 3.
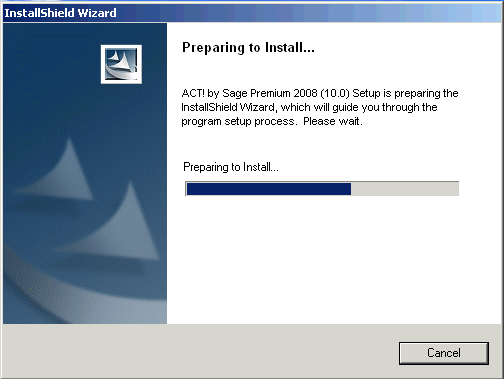
Double-click the ACT! Update file. The Unpacking ACT!
progress indicator appears, followed by the InstallShield
- Preparing to Install wizard progress indicator: 4.
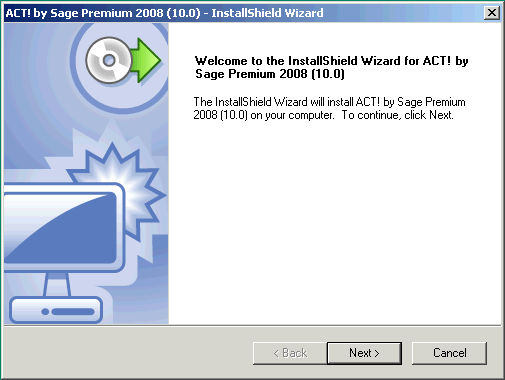
Once the preparing process is complete, the InstallShield
Wizard - Welcome dialog box appears. 5.
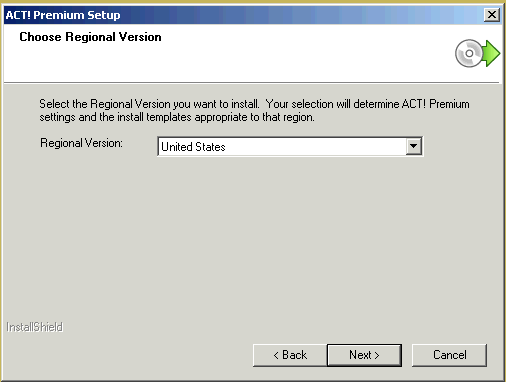
Click Next. The Choose Regional Version dialog box
appears. 6.
Choose your regional version and click Next.
The following dialog box appears: 7.
Click Yes. The License Agreement dialog box
appears. Read the License Agreement and select I accept the terms and
conditions as stated above and click Next.
8.
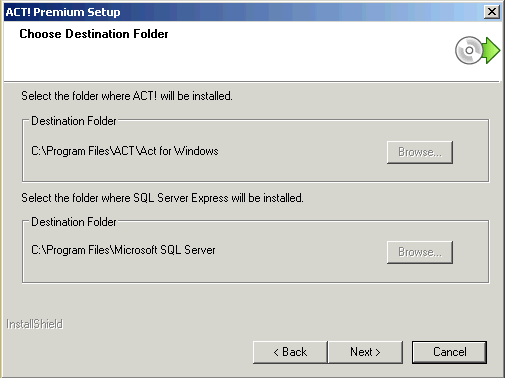
The ACT! Setup - Choose Destination Location dialog box
appears: 9.
Click Next to accept the
default directory. You may click the Browse button to install ACT! or the SQL Server® Express into a different
location if desired, however, this is not recommended. The ACT! Setup -
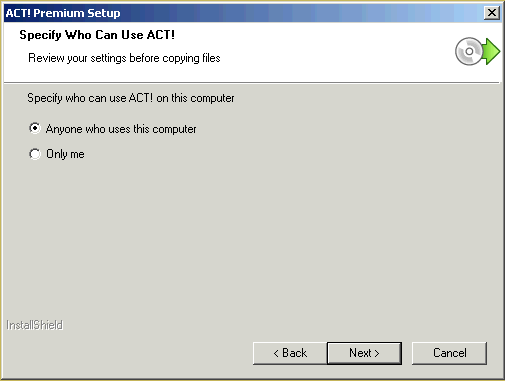
Specify Who Can Use ACT! dialog box appears: 10.
Enable the appropriate Specify who can use ACT! on the
computer option: ·
Anyone who uses this computer - all users that log
onto the computer will be able to use ACT! (recommended).
·
Only me - only the current user logged into windows will be able
to use ACT!. 11.
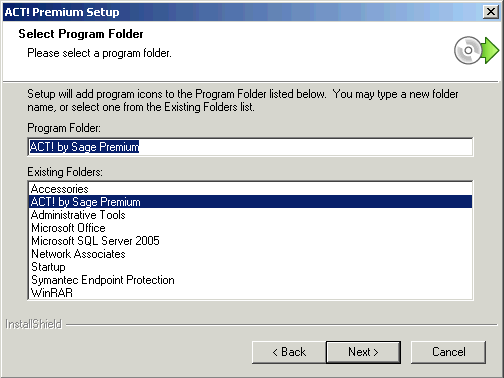
Click Next. The ACT! Setup - Select Program Folder dialog
box appears. 12.
Take note of the Program Folder name. Although you can
enter a different folder name or choose from a list of Existing Folders,
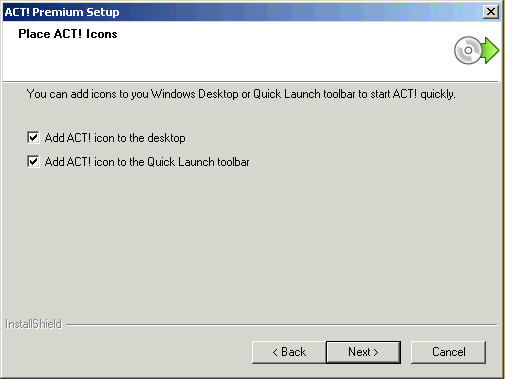
it is recommended that you simply note the default folder and click Next. 13.
The ACT! Setup - Place ACT! Icons dialog box appears: 14.
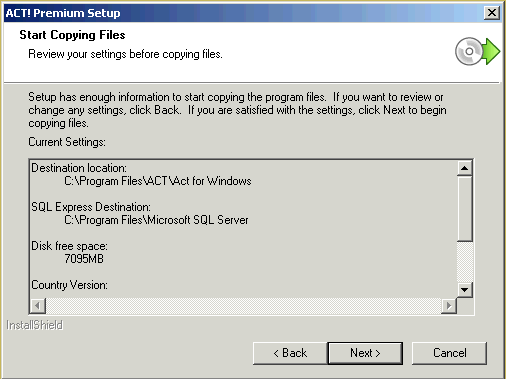
The Start Copying Files dialog box appears. 15.
Click Next. The update will begin by uninstalling the
previous version. 16.
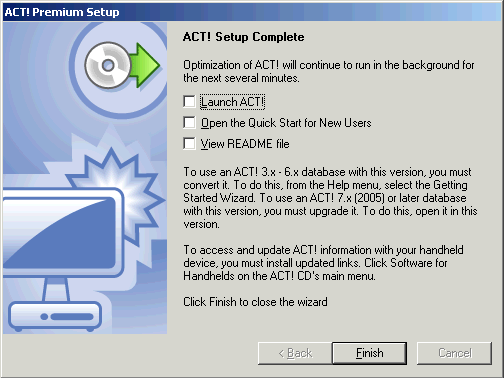
When the Setup is complete and the Installation has been
finalized, the following InstallShield
Wizard - InstallShield Wizard Complete dialog
box appears. 17.
Click Finish to finalize the installation.
Title:
What Changes Were Made in ACT! by Sage 2008 (10.0.2) Title:
What Changes Were Made in ACT! by Sage Premium for Web 2008 (10.0.2) |